Last week, I finally decided to use my package of decorative feathers that I purchased at Michaels a while back. I love the cute, spotted feathers and have been waiting for the perfect project to put them to use!
This headband was SO easy to make, and I think it would be a really cute Christmas gift for some special girl in your life!
My step-by-step pictures are lacking, but it's just so easy that I think you can handle it without the pictures!
Here are the supplies you will need:
Package of feathers (mine were purchased at Michaels in the craft aisle, sorry I can't recall the price! They are under $5 for sure).
Slim plastic headband (I bought a 3-pack of these at Target a few years ago)
Hot glue gun
Cute button or bead for the center!
I took a picture at the half-way point. You will want to figure out how big you want the feather-decal to be. I chose to go with a longer line of feathers since they are pretty delicate. Starting at the TOP, start gluing feathers down one at a time, spacing them so that each feather is seen. You don't need much hot glue, just a little dab will do!
Then, glue a couple more feathers facing the other way. It should resemble a bow, with one side being longer. Finally, glue your button over the top, and voila! You have a pretty new headband. I kid you not when I say that this took me 5 minutes! 5 minutes! So easy.
Yes, I am already thinking about Christmas gifts- are you? As usual, I'm hoping to do a combination of purchased and homemade gifts for an extra-special, checkbook-friendly Christmas! How about you?
I found this outfit on Pinterest a few weeks ago and thought, "Hey, I could recreate that!" I even have the exact same belt! How often does that happen?
So here's my take on the outfit. I loved wearing this, and felt like I had stepped out of a J Crew catalog or something. =)
(I realized after I took this picture, that I am holding money in my hand. I have no earthly idea why.)
Shirt: Gap
Sweater: Limited (thrifted)
Jeans: Gap
Shoes: Bare traps
I love all of the inspiration I glean from Pinterest, especially when it comes to style! I get into clothing ruts SO very easily, so it's nice to be able to look through the photos and find inspiration for items I already own. What do you do when you get stuck in a style-rut?
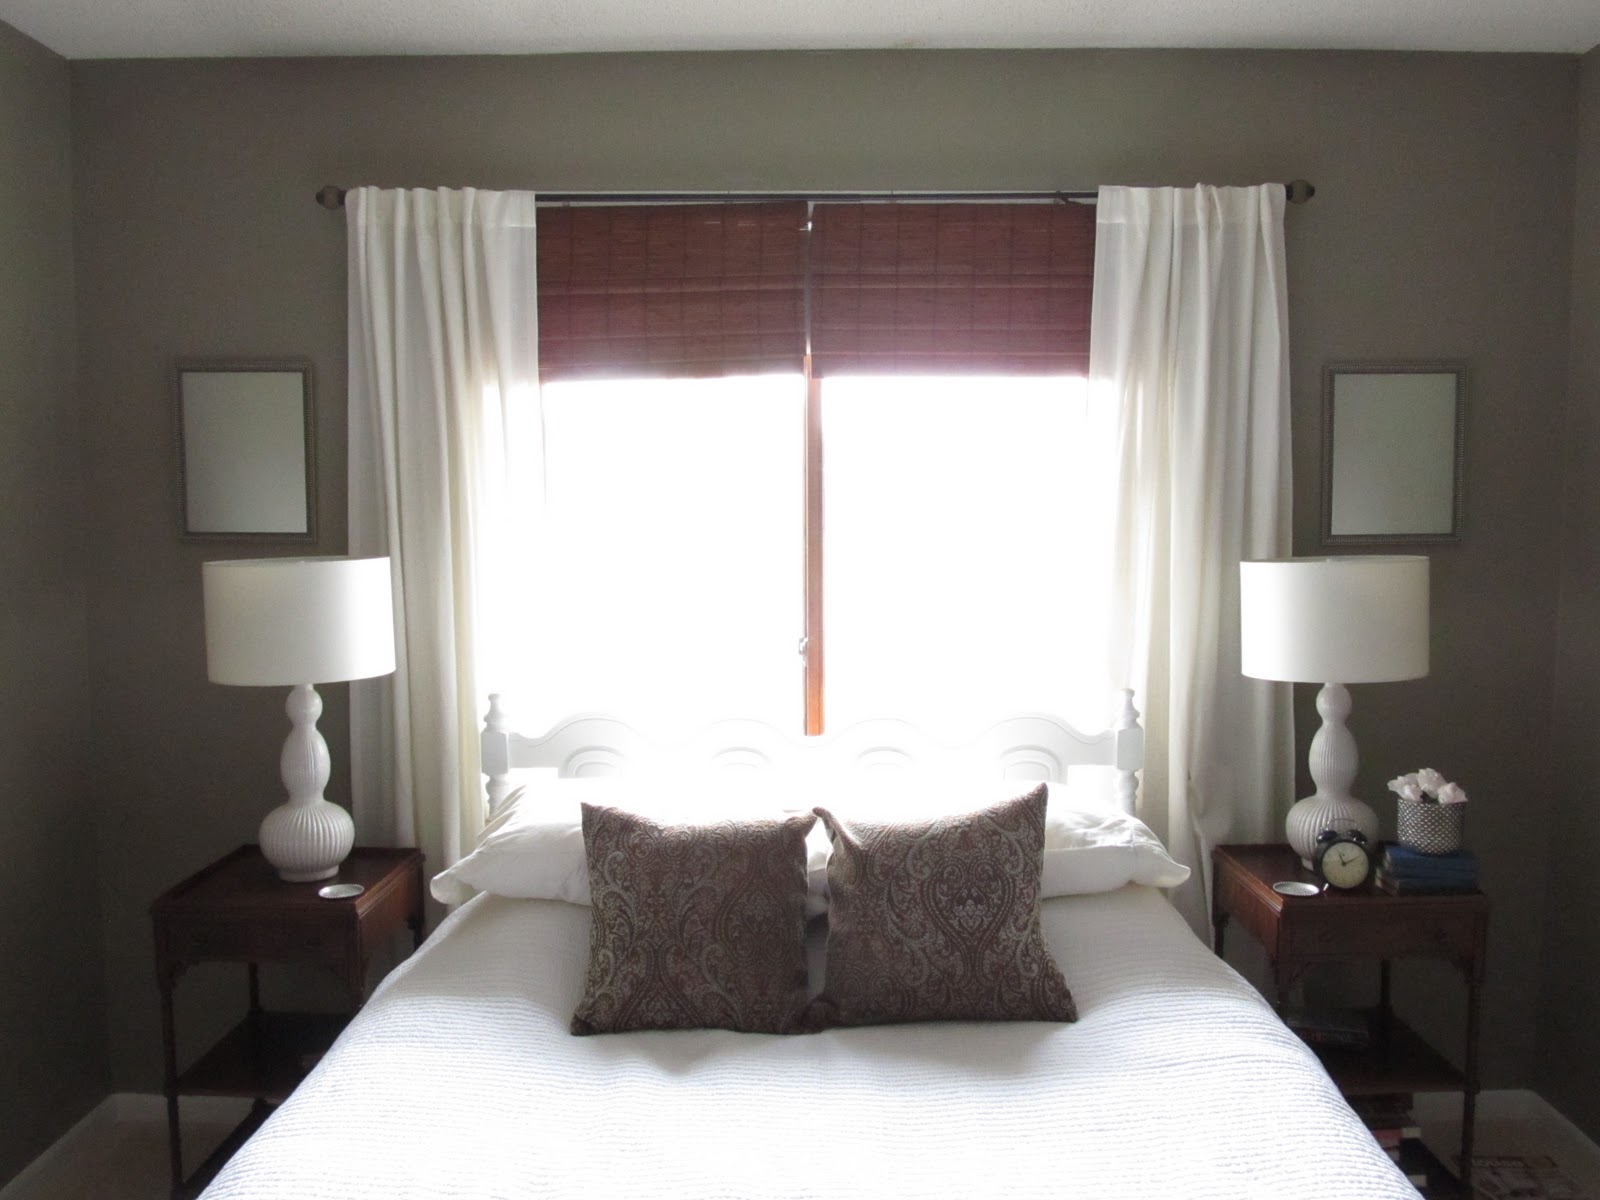
Yup, it's official. I have mirrors on the brain. I guess I just love how they instantly brighten up and add style to any room. And with only 3 windows in our townhome, we definitely need every bit of brightness we can get!
Take for instance our master bedroom. It was lacking a little in the style + light department. I don't know why, but this has proved to be the hardest room to decorate. Maybe because I am stubborn and refuse to repaint. I love the wall color, but it's really hard to decorate around it!
I'm always on the lookout for mirrors these days, and I was at Wal-Mart the other day and found these two for $4.95 each. Regular price. Wowza! I definitely snagged them, figuring I could turn them into trays even if they didn't work in the master bedroom.
Now, they are hanging pretty! I might do something different at some point (I'm thinking of antiquing them and trying to add some type of candle-holder), but for now they add just the touch I was looking for!
Also- you may have noticed a pillow switcher-oo. I made the slipcovers a few years ago and used them in my first apartment after college, but they had been sitting in my closet for a while. I love the fabric though (bought on clearance at Jo-Anns) and I'm glad they fit in our room so well!
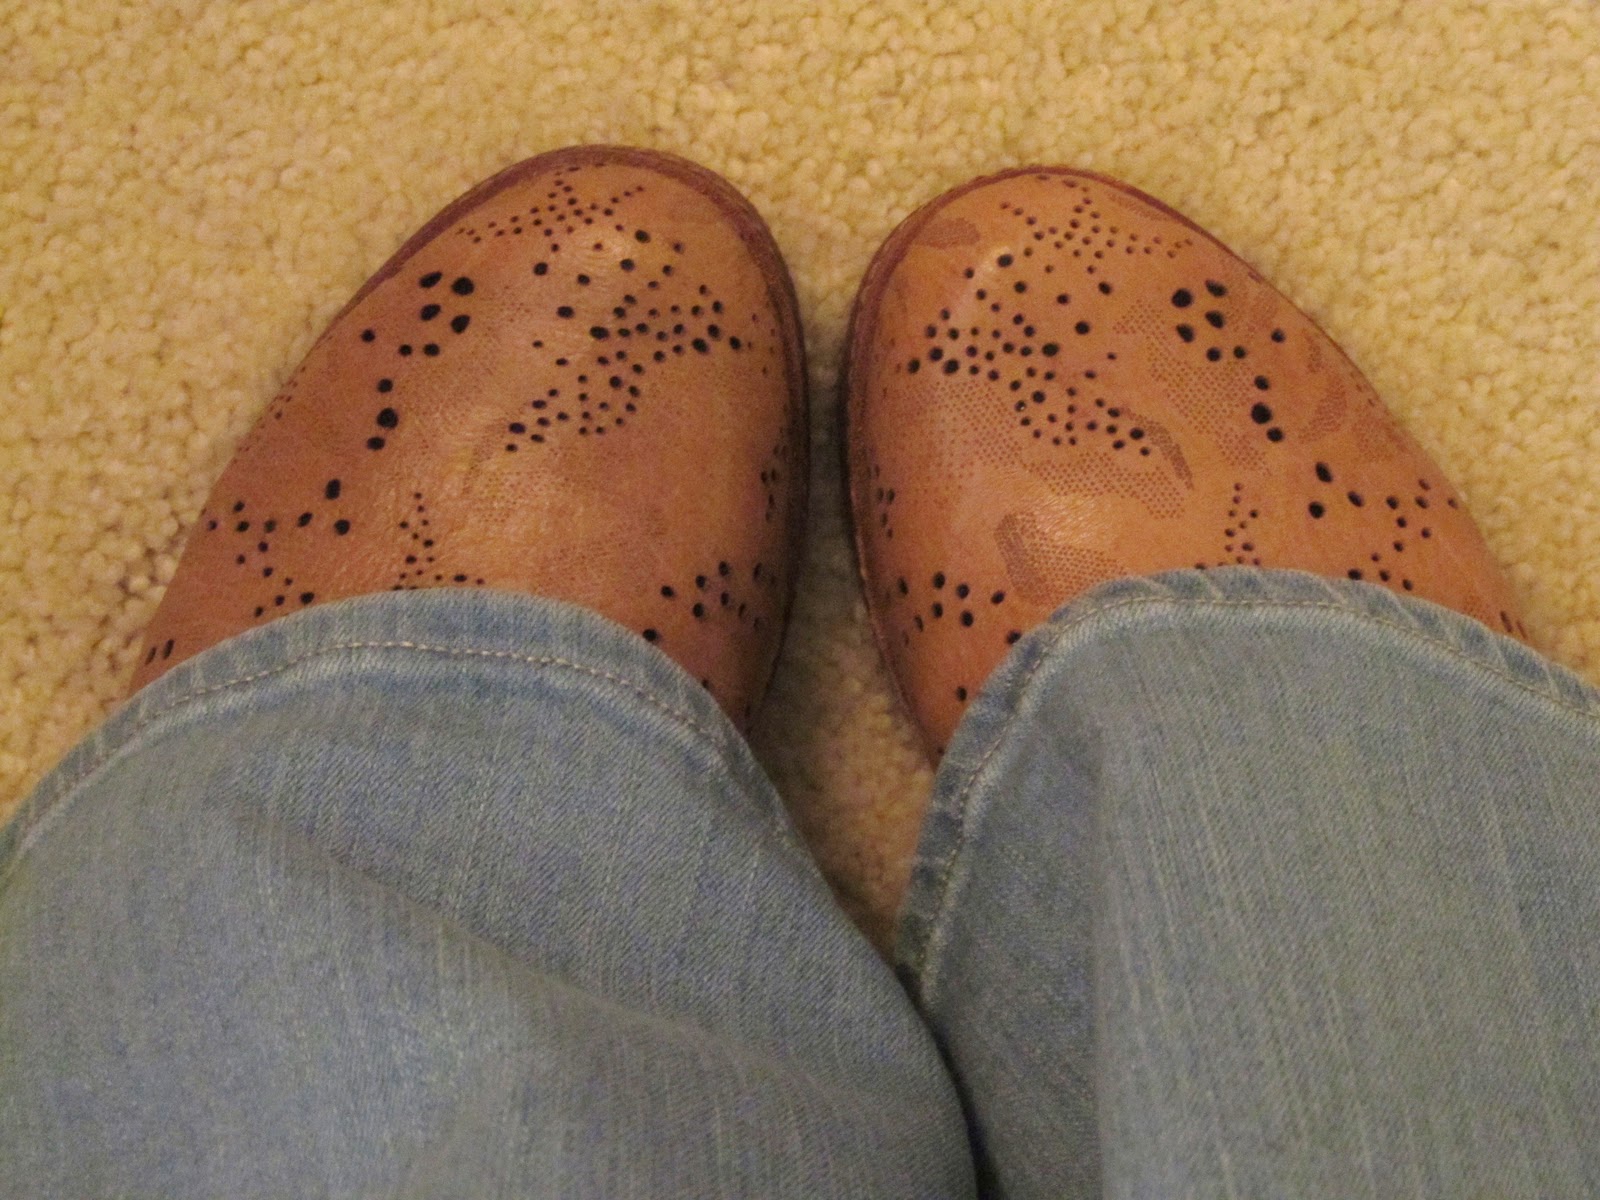
Remember that fairy-tale obsession I hinted at in my post on Monday? Well, that may have slightly influenced my purchase of these shoes.
When I saw them sitting on the shelf at Goodwill, I knew that they had to be mine. Nevermind that the only other time I have seen shoes like these were on the feet of a 5 year old girl dressed up like Dorothy from the Wizard of Oz (and yes, I had to resist the urge to steal her shoes even then!).
I wore them on our date-night last week, and boy are they fun. They may have pinched my big toe a little, but every time I looked at my sparkly feet I smiled. And maybe giggled a little.
I decided to pair them with some cuffed jeans, a black sweater, and my military-style jacket to offset the sparkle. After all, when your feet look like they've been dipped in a vat of Martha Stewart's Craft Glitter, you're already going to be drawing plenty of attention to yourself. (Consequently, no one else cared that I was wearing glitter shoes. Josh just smiled and suggested we eat somewhere dimly lit.)
Have any of you been watching the new ABC show "Once Upon a Time"? There are only 2 episodes out so far, but I have fallen head-over-heels in love. I am such a little girl at heart, but anything fairy-taleish automatically gets my stamp of approval. =)
I think that slight obsession with fairy-tales has influenced my life in a lot of ways. I love shows and movies that remind me of the good in people, rather than exploiting the evil that is so prevalent in our world. I'm not going to get in a deep theological discussion here, but I just wanted to mention the show and see if anyone else was watching it!
In other news- we had an amazing weekend. We got to host a Halloween Party last Friday, went out to eat at a fabulous Italian restaurant and then to the St. Paul Chamber Orchestra concert with some friends on Saturday, and then went to a laid-back party/bonfire hosted by my parents on Sunday evening. A very full, enjoyable weekend!
Tonight, I think we will be hunkering down inside and turning out the lights to avoid trick-or-treaters. Call me a grumpy old lady, but I'm tired and I don't feel like shelling out more money for candy! Maybe next year...
What did you do this weekend? What are your plans for this Halloween night?
In preparation for our Hallowe'en Party, I wanted to make some fun Halloween-themed tags for labeling the different foods.
I searched online for ways to transfer laser-printed images, but all of the tutorials either used items I didn't have on hand, or just didn't work. I first tried using nail polish remover, since acetone is supposed to be able to transfer ink. However, it just made the paper too soggy and the image that transferred was really spotty and just didn't look right.
Well, my brilliant husband finally suggested that I try using 100% acetone instead, which we happened to have in the garage. It worked SOOO well! I couldn't believe how easy it was, and how well the image transferred onto the tags. I would highly recommend this method, since 100% acetone also evaporates so quickly that it doesn't make the paper soggy or wrinkly!
So without further ado, here's what you need to do:
Supplies-
Laser printed image (I found mine on the Graphics Fairy website)
Paper or fabric or some other porous surface to transfer onto
100% acetone
Rubber gloves- IMPORTANT! Acetone can be really harmful to your skin, so you should take proper precautions.
Q-tip
Masking tape
Using the masking tape, tape your image, printed side down, onto the surface you want to transfer it to. I used some blank tags that I purchased from Jo-Anne fabrics a few years ago.
Wet the Q-tip in the acetone, and gently swipe it over the surface. As the acetone seeps into the paper, you will see the image come through more clearly on the back side. After applying the acetone once, re-apply using the same steps.
Gently peel off the paper and tape, and you will see your beautiful image transferred! Set it aside for about 10 minutes to ensure it is completely dry. Fabric may take longer to dry completely. After it's dry, you are done! Please make sure to follow the directions for safety on the Acetone container. It's a dangerous substance if not used correctly!
I haven't tried using this on fabric yet, but I think it would work really well. You could also try this on wood, cardboard, or some other porous surface. I am just giddy thinking of all the possibilities, I think I will be using this method for years to come!
Last Friday, Josh and I (with the help of some wonderful friends) hosted our very first Halloween Party! Normally, I don't get into decorating for or celebrating Halloween, but we decided to use the holiday as an excuse to get together with friends and have a little spooky fun!
My sister, Morna, and our friend Ali both helped to pull this shindig together. We decorated with lots of fun vintage items as we were going for kind of a "Steampunk Halloween" theme.
For food, we had lots of fun snacks and hors d'oeuvres, including pinwheels (Eye of Newt), pickles wrapped in corned beef and cream cheese (Chopped Snake), Monterey Jack Fondue, Baked Potato Soup, and special cupcakes made by Ali.
The "Shards of Glass" cupcakes turned out SO well. Ali did an amazing job, and they tasted even better than they looked!
For the rest of the decor, we just hung more faux-spiderwebs, lit lots of candles, and turned down the lights. It's amazing how quickly a place can transform by just doing those simple things!
I pulled some of our creepiest books out to display on the table, among
them were "Phantom of the Opera," "Complete Poems of Edgar Allen Poe,"
and "Sherlock Holmes."
We had quite a few friends come over, and everyone dressed up!
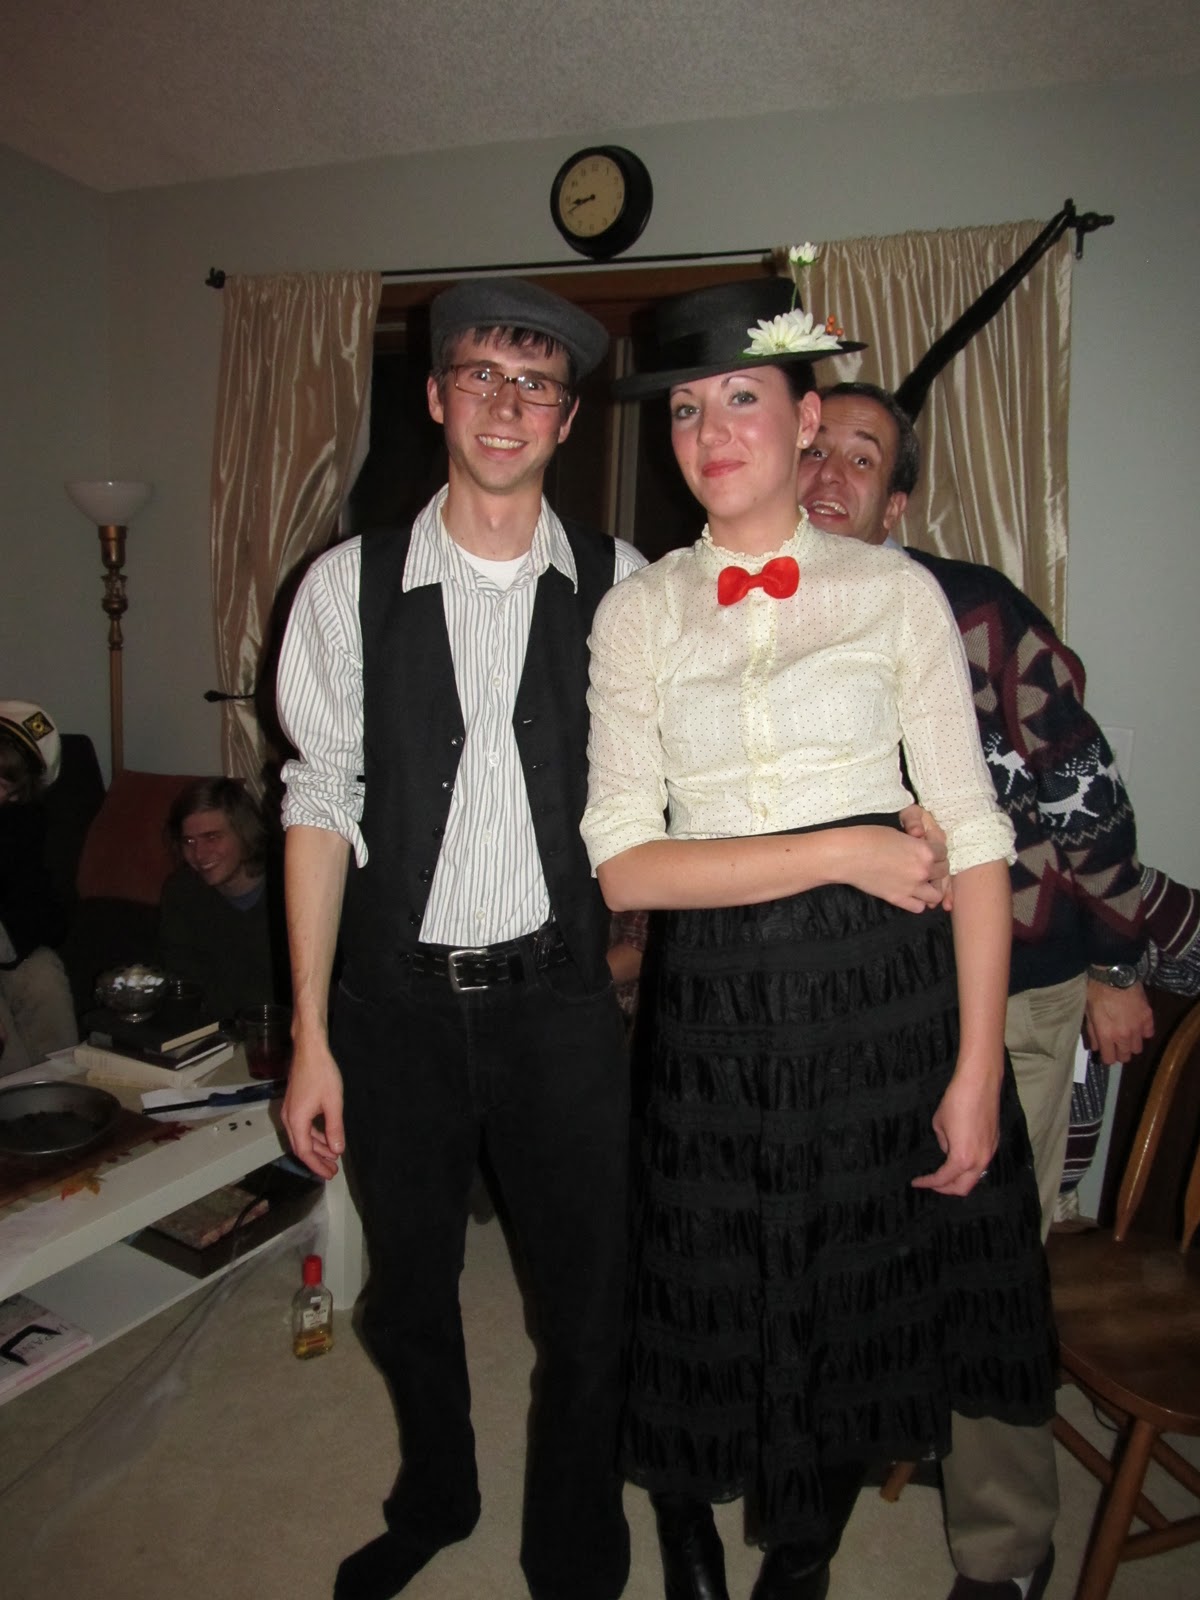
Josh and I were Bert and Mary Poppins! That's my brother in the background photo-bombing us. He was dressed up as an old man, complete with a cane and an ugly sweater! His girlfriend Melissa was also dressed up like an old lady and she brought a walker! It was pretty hilarious to see them come up the stairs with those costumes.
My favorite part of the evening was playing a game called "Snip, Snap, Dragon!" This game dates all the way back to 16th century England. You place a bowl full of rum and raisins on the table, and then light it on fire! The object of the game is to reach into the "fire" to grab a raisin, at the risk of burning your fingers. It's scary because the flames are very convincing, but they are nowhere near as hot as a real fire. You grab a flaming raisin and pop it into your mouth to put the fire out! There's an old poem that is recited while playing.
Just for fun, here's a video I took while the game was taking place. It gives you a better idea of how it's played!